Bowlus – Easy Camping Guidance with Bowlus – Quick Reference
In this video, we cover the quick reference guide for your Bowlus to get you started on your camping adventures.
Bowlus is designed to be the most user-friendly RV on the market, blending luxury and innovation with intuitive systems that make every trip effortless. From its seamless setup to its efficient systems, Bowlus ensures you can focus on the adventure without worrying about the details.
Here’s what we’ll go over:
- How to set up and camp at a campground
- How to prepare for and enjoy off-grid camping
- Operation of the heating system
- How to use the air conditioning system
- Adjusting and using the table brackets
- Proper use of the toilet cassette system
- Understanding and managing the electrical system
This video is designed to help you get comfortable with your Bowlus and ensure a smooth, enjoyable camping experience.
FAQs
Video Transcript
Hi I’m Geneva Long and today we’re going to go through the quick reference guide for the Bowlus to show just how easy the Bowlus is to operate. Let’s get started.
So first of all, I’m going to run you through our quick reference guide and that starts with the suggested setup checklist for full service campsites. So let’s get started here. So first of all, I’m going to install the wheel chocks. Now a set of wheel chocks comes with your Bowlus. Chocking the wheel looks like just taking this wheel chock and putting it behind the front and the back of the wheel. I then would disconnect from my tow vehicle. Now I don’t have my tow vehicle set up here, but I will link you to my hitching video and it’s just going to be the opposite of that.
So you’re disconnecting the coupler that’s this, and that would have your pin or your lock going through this hole. So you’re going to remove that or unlock that. Lift up your coupler. You’re then going to disconnect your safety cables which are these. There’s two; they go on either side of your hitch. And then you’ve got your safety chain which would also be connected to your tow vehicle. And then disconnect your seven-pin from your tow vehicle. So that’s going in your seven-pin in the back of your tow vehicle. And then you’d crank up your jockey wheel using this crank here. And again, I’m going to link my video so you can see the full process of that and that would lift up the front of your Bowlus from your tow vehicle.
You would then push it back a few inches. You know, sometimes I like to leave a little bit of room with the wheel chock so that I can push the Bowlus back or you could always also drive your tow vehicle in front. And then you would lower your jockey wheel again back down to make your Bowlus level. And now there’s an app on usually your iPhone or most phones that you can just put on the front of the hitch right there and that can help you level it from front to back. I, when I’m camping, like to just find a level campsite for port to starboard as well, but if you didn’t have that, you could use something like hitch or like leveling blocks or the Anderson leveling block and that could make it easy to level your Bowlus from side to side. Lots of videos online about how to do that as well.
So once I have leveled my Bowlus, I’m then going to put down all of the stabilization jacks and the most important ones are the ones at the back. And so if you ever plan on stepping inside your Bowlus, you do need to make sure you’re putting down those stabilization jacks at the back. And that’s using this hand crank that would come in your in your Bowlus customer box and just cranking that jack down. And I’m doing it with my left hand, which is why it’s so slow, but if I had both hands it would be really fast. So I’m doing that on front and back and there’s what that crank looks like just so you can see the full thing. I’ve already put the one down on the other side and then I put down the front at the front two as well.
Then I’m going to connect the shore power. So the shore power is going to be this shore power cord because like I said, I’m camping at a full service site and that’s going to go into the 30-amp cord right here. And I’m going to put the label at about 11:00 and then turn it to 12:00 and then spin this item to secure it. And so now my shore power cord is secure. We don’t have 30-amp here, we have 15-amp so I’ll just run over to the power cord to show you what that might look like. So here we have the 15-amp to 30-amp adapter and the 30-amp cord. So that’s how you would do 15-amp to 30-amp and of course if you had 30-amp you’d just remove this connector right here.
At a campsite, you’ll probably have a gray water connection so we’ll go over to the gray water tank and you’re going to hook your hose right onto that and then leave this lever open. And that, when you’re at a campsite, is going to allow water to fully flow out as the gray water tank fills. I’m going to close that back up. And then you’re also going to connect into the city water hose. So the city water is going to be right here and you’re going to get that tasteless city water hose that you’re only using for freshwater connection and you’re going to tap into the pedestal at your campsite that has fresh water and then into here, which is that city water connection. Now if you wanted to fill the freshwater tank, you’d be doing that at the gravity fill which is right here. So that’s when you’re at the campsite and want to tap into the fresh water, and then that’s the gravity fill if you’re wanting to put fresh water in your tank.
Now let’s head inside. So on my way inside, I’m going to plan on turning on my propane tank and so the way I do that is I just, you can see, open here and turn it on. Now you always want to turn it on very slowly. Don’t turn it on really quick; turn it on slowly. Okay, and now we’re going to head in and I’ve been towing and so that means I’ve had my main power switch on. But as you can see up here, main power switch is on and then I’m connected via that 30-amp at the campsite. So I’m going to turn this to charger only, and charger only means I don’t want to invert any power, so I don’t want to use my battery to invert any power, so I’m just going to do charge only.
And what this is going to let me do is this is going to let me use 120-volt power coming in through the pedestal as well as charge the batteries at the same time. Now if I flip this over to on, that would tell the system to start using power from the batteries which I might not want to do. So it would charge the batteries because we’re plugged in, but I could also then use power from the batteries and if that’s not what I was thinking I wanted to do, it could potentially drain my battery. So again, charger only here. We don’t need to turn the freshwater pump on because we are connected to city water in my full service camping example, so we don’t need to turn that on.
But we’ll go over to the Alde panel now and just review how that works. So this is your heater panel and this is going to be used for both heat and hot water. So right now you can see the interior temperature is 73° and the temperature outside of the Bowlus is 66°. And that plug also means that we’re plugged into shore power on the outside. And so if we wanted heat to go on, you know we want it to be warmer inside the trailer, then we’re going to turn this temperature up to our desired temperature. Now the heat’s not going to go on unless this desired temperature is higher than the temperature inside the Bowlus. So if this is 63° and inside is 74° right now, nothing is going to turn on.
So if we want it to be more heated in this example, we would need to turn it up to 75° and then we need to tell the system how we want it to heat. Do we want it to heat on propane? If we do, we would press this button; that would tell the system heat the interior of the Bowlus on propane. Now if we want to heat on electrical, we would need to tell it if we want it to heat on level one or level two. Now let me explain: level one draws 8 amps and so you can run that on 15-amp service, but level two draws 16 amps so you can only run that when you have 30-amp service. And so you’ll have to think about which one you have on the exterior for which you are allowed to heat on. Otherwise you might flip the breaker and then you would just need to go to the breaker box, which is under the dinette, and flip those breakers just like you would at your house.
I’m actually going to show you where that is right now while I’m thinking of it. So breaker box right here and exactly like your house: flip on, flip off if you ever need to reset that breaker. 12V fuses over here as well. Back to the heating. So in this hypothetical example we also want to provide this option of I actually don’t want any heat because hey, it’s already 74 degrees in here, but I do want hot water. And so you’ll see this shower icon. We want to turn that to the full triangle when we want to have hot water but we don’t want to heat the inside of the Bowlus.
If we have it at half and we have the inside programmed temperature to be higher than it is now and therefore the Bowlus is heating, you will have hot water as well. But if you only want hot water and not heat inside, then you need to turn the shower icon to full and then you also need to tell it how you want it to heat. So same logic applies here: do we want it to heat on electrical level one, electrical level two if we have 30-amp, or propane? And just a note on this, it’s always going to be faster to heat up on propane, both the interior temperature of the Bowlus and also hot water. So you might think about doing that if you want that to work faster. Level one is always going to work slower and level two is going to work faster than level one, but not as fast as the propane. And same thing in cold weather camping. So in cold weather camping you’re going to want to turn on your propane and you’re going to want to heat with propane because if you have a significant temperature differential, the only way to power that difference is going to be propane.
We got the air conditioner over here. So that’s just going to turn on with that button setting the temperature here, always making sure we’ve got that snowflake icon if you want cooling mode. There’s a bunch of other modes as well that you can review in your Bowlus owner’s manual, but let’s just talk about cooling because that’s really the most important one and the one that you’re going to be using the most. Mode—that’s the mode button—is going to get you to cooling if you ever notice that it’s not on cooling. And then there’s also fan speed, but you know, tips for the air conditioner and also link my air conditioner video: you want to turn that air conditioner on if you’re in a place that’s very warm, turn it on earlier in the day. And that way your Bowlus doesn’t allow to get very hot during the hottest point of the day; it can keep that consistent temperature. That’s going to be the easiest way to keep it cool and comfortable inside your Bowlus.
I’ll also link to my video on how long it takes to cool down the Bowlus from a very hot temperature as well. And so when you have back to the power, when you have these settings you’re going to find that all of your outlets work and all of your microwave is working and it’s all working from the shore power which we plugged in on the outside. Now let’s talk on how you would set up your programming for off-grid camping. And so we would do everything the same: we would wheel chock, we would disconnect, we would lower the jockey wheel, we’d do the stabilization jacks always putting the ones down at the back first. We would come in, our main power switch would be on because we would be towing. We might turn on our propane valve at the front if we were wanting to be heating on propane in this example.
Because now we aren’t connected to city water, we’re going to turn our freshwater pump on. That’s this switch here. That’s going to turn the freshwater pump on. The Alde—now off-grid I’m usually going to recommend heating on propane. That’s going to be the most efficient for you. The heating system can also run off electric, but it uses a substantial amount of power, so you can get about one overnight running your Endless Highways from electrical, but like I said, I would recommend propane if you’re off-grid camping. So we would turn that propane button on and same settings for setting the temperature inside and same for setting the shower inside if we just wanted heating or if we wanted heating and hot water. When you have heating you always have hot water, or if we just want hot water.
Then I’m going to go over and this should have been off in my video and I’m going to turn this to on and that’s going to now invert power. And I’m going to turn that to 14, but that’s going to invert power so I’m still going to have everything live but I wouldn’t be plugged into shore power in this example. I’d be running entirely off-grid and so everything I have on including those from the 120-volt appliances are going to be running off the battery in this example where I’m not plugged into shore power and same thing for 120-volt outlets, all of those will be live too. Same thing for air conditioner—that will work off the grid as well—but all of that is now going to be drawing from the battery rather than from the shore power pedestal.
And then you can always monitor your battery here. And I didn’t formally disconnect on the outside from shore power, I’m just giving you this theoretical example, and so you can still see that shore power is charging those batteries. But if I were to start using large appliances it would invert that power, but this is a good place to go if you’re worried about am I inverting power to run this. You know, when you’re plugged into maybe shore power you want to make sure you’re maybe not using your battery; that’s a good place to go to confirm those settings.
The last page of your Bowlus owner’s manual also has a very, very helpful appendix which has all the different camping scenarios and what you should set this MultiPlus to. So that’s definitely a page that I would bookmark, print out, have ready to go, because that’s just going to make it really simple. It’s going to say oh, I’m camping off-grid, how should I set this MultiPlus, how should I set this dial, and just make it incredibly easy for you. So that’s definitely a go-to.
And now let’s talk toilet. So everyone always wants to make sure that they understand how to use this properly and I completely understand. And so with the Bowlus it’s going to be like a boat toilet in that you always want to have a dry bowl. So when you’re done using the bathroom nothing should ever be left in the bowl, everything should always be flushed. And the benefit of the Bowlus cassette toilet is it uses a lot less water than a traditional RV toilet. So let’s go over the interior operation for that, and then I’ll also show you how to remove the cassette on the outside.
So on here you have the button that opens a water valve to fill the toilet with fresh water. And so you would press the button to fill the toilet—and sorry, I have a plastic cover on this so you always know no one’s used your Bowlus toilet before—and that would put water into the bowl by pressing this blue button. And then you have the toilet flush right below here. So that’s opening it to one side that lets everything in the bowl go under into the cassette down below and then that closes the valve after. And so you slide the handle to the right to open the toilet blade valve, that would flush the toilet into the cassette toilet below it and then while that valve is open you can also press this blue button to rinse the bowl if you will or clean the bowl if you will.
And that would also put some water into the toilet bowl and then rinse it down below. When you’re done you’re always making sure you close that valve completely leaving a dry bowl. You don’t put water back in the bowl after; completely dry everything down in the cassette tank. The cassette holds 4.75 gallons or about 18 liters and that’s usually about enough capacity for two people for over a week. When it is full you will see this icon light up. You have one or two more uses left but you know, never a bad idea to empty the cassette at that time that you see this indicator light up and you can do that by taking your cassette into the toilet and I will link a video here of demonstrating what emptying that cassette looks like.
Over here using the cooktop. The cooktop first of all has a switch over here so you need to turn on this cooktop induction cooktop and then you have on/off on either side and then you can also select your heat temperature and then the up and down icons are there to and also timer too to set that up. Induction, so need induction compatible cookware but very easy to find. And then when you’re done you’re also wanting to turn this switch off. The switch next to it is for the porch light on the exterior of the Bowlus.
While I’m here I’m going to show you how to turn on the refrigerator so I’ll move down into the refrigerator. The icon of where it takes that temperature is here so right now it’s off at that zero. Going to twist it to three; it’s at that 3:00 position here on a clock which is where you’re going to set that temperature to. I usually find three is more than sufficient to keep everything cold but not freezing, of course depending on if you’re camping in hotter environments you may need to turn that up a little bit more or down a little bit more. That’s how you would turn on the fridge and then to turn it off you’re just turning it all the way to the left or counterclockwise until that zero is back in the 3:00 position. So that’s how you turn the fridge on and off.
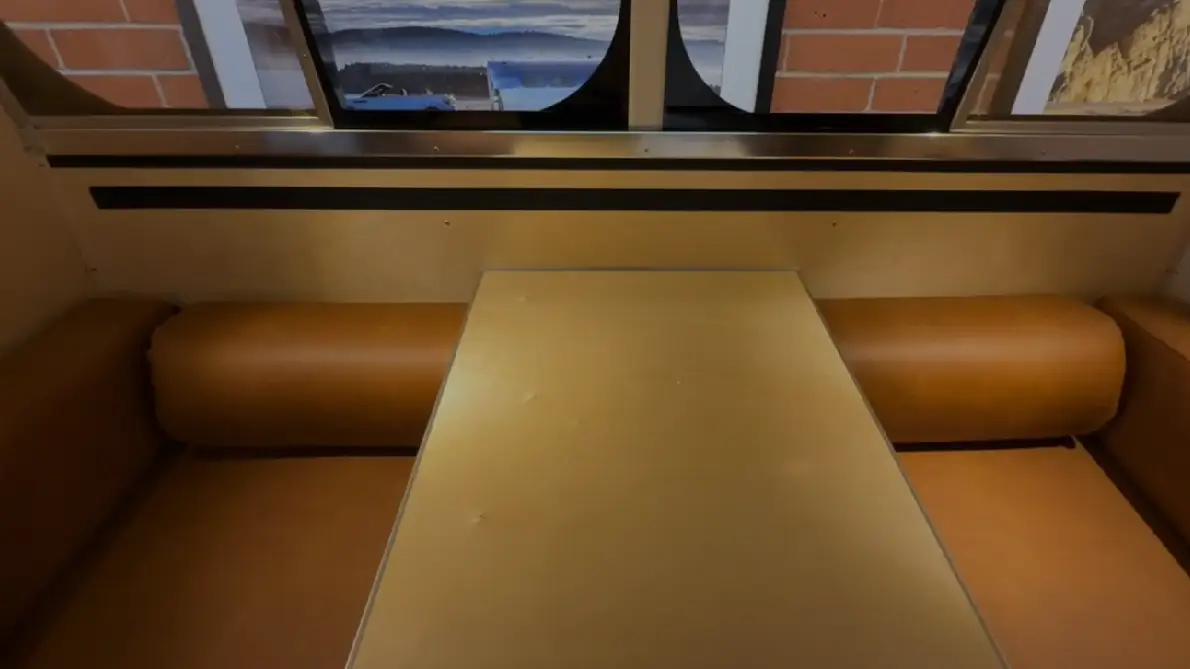
So now talking about the table brackets. So I’m only one person here, it’s hard to film and do the table bracket at the same time with my left hand, but what’s important is you always want to go down and in with the table bracket. You never want to slide it in. So it’s easy to think oh, I should just grab the whole table and slide it in. No, you want to latch the top of the bracket into the top—or the top of the table into the top of the bracket—and then move it down at a 45-degree angle. And the one on the outside is done exactly the same way. I just removed this back cushion to show you what that looks like.
The vents—now the vents are very simple to open. Twirl this and then push; that’s going to open the vent. And then to close it you want to make sure you’re bringing that rod all the way towards the front of the Bowlus while twisting at the same time to make sure you have a really great seal. At the beginning of delivery your seals can be stiff because they’re brand new, so you want to make sure that your vents are always fully closing and that you don’t see any light coming through there which would imply you haven’t fully closed that vent. Same thing with the windows here: sliding open, sliding closed, wanting to make sure those are fully closed as well.
So that just about covers everything from our quick reference guide inside the Bowlus. Just a note on the front door: so I always, when you’re towing, you need to make sure the deadbolt is fully engaged. So obviously the door would be closed; the deadbolt is fully engaged there. And that’s important to make sure the door, because we have that tight seal, isn’t opening. I don’t ever use this lock, I just use this deadbolt lock. And so these are keyed differently; it’s really much simpler to just use this deadbolt lock.
In terms of opening the screen door on the Anniversary Edition, you have these two here. You just twist those and the one down at the bottom and the screen door will open like that. And then on the other side you’ll see the stay. So the stay just opens and—again, left hand, sorry—there we go, secures the front door there. The front door stay works the same way to secure the front door on that.
Thank you so much for joining us. This concludes our quick reference video guide. As a note, the quick reference guide and this video do not replace the owner’s manual. Warnings and caution in particular are not to be replaced by this video or the quick reference guide itself. Comprehensive information and tips on how to safely operate and maintain your Bowlus are found in your Bowlus owner’s manual. Hopefully you can see everything in the Bowlus is incredibly user-friendly and easy to use. Obviously as you become a more experienced and sophisticated user there are many more settings to dig into. Thank you so much for joining us.


